3D Printed Interior Mods
The nicest 3D printed car parts are usually not the dramatic ones. They are the small pieces that solve a real annoyance: a cable clip that routes something cleanly, a bracket that keeps an accessory from rattling, or a trim insert that replaces a tired plastic part without turning the cabin into a prototype lab.
That is the target for the GT86 interior work. Functional, restrained, and close enough to OEM that the print does not shout for attention every time the door opens.
What is worth printing
Interior parts live in an awkward space. They are visible, touched often, and exposed to heat. That rules out a lot of lazy designs.
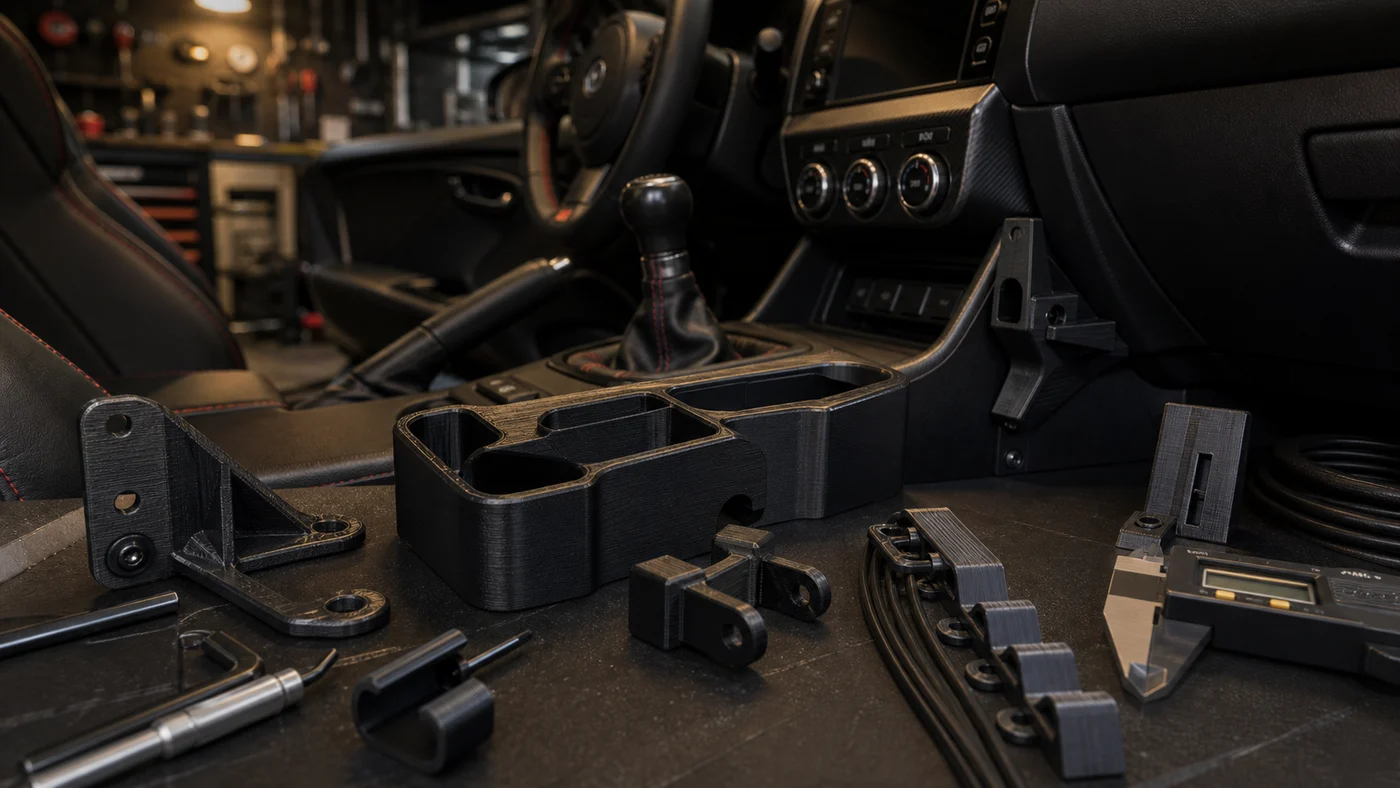
The parts I am most interested in are small support pieces:
- cable clips for dashcam or accessory wiring
- bracket adapters for small electronics
- console inserts that tidy up awkward gaps
- trim replacements where the original part is cracked or hard to source
- simple storage dividers that do not look like an afterthought
These are not performance parts, but they improve how the car feels to use. A cabin that does not buzz, snag cables, or look half-finished is part of the build.
CAD first, printer second
The printer is the easy part. The hard part is measuring the surrounding geometry well enough that the part fits without force.
For most cabin pieces I start with calipers, photos, and a few reference measurements from fixed features: screw holes, trim edges, switch blanks, or the center console seam. Then I model a rough block in Fusion 360 and print only the critical interface area.
That saves time. There is no point printing a complete console insert if the two tabs underneath are 0.7 mm too wide. Small test coupons are boring, but they turn a frustrating multi-hour print into a quick fitment loop.
Material choice
PLA is fine for validating shape, but I do not trust it for a part that might sit inside a parked car in summer. PETG is the practical baseline because it prints cleanly, handles heat better, and has enough flex for clips.
ASA is tempting for anything that gets more sun, but it needs more care. If the part is hidden, PETG wins on convenience. If the part is visible and exposed, ASA becomes worth testing.
The important thing is not chasing the strongest material. It is matching the material to the feature. Clips need flex. Spacers need compression resistance. Decorative inserts need surface quality.
Avoiding the printed look
A printed part can fit perfectly and still look wrong. The easiest way to make it feel less temporary is to design around the process instead of pretending it is injection molding.
Large flat surfaces show layer lines and tiny inconsistencies. Small chamfers, broken-up surfaces, and sensible orientation help a lot. Matte black filament usually suits interior parts better than glossy black because it hides minor surface variation.
Texture is the next experiment. A subtle grain would make visible parts sit closer to the surrounding plastic. The trick is keeping that texture controlled enough that it looks intentional, not like a slicer accident.
The fitment rule
If a part needs too much force to install, the model is wrong. A little compression is fine for anti-rattle behavior, but forcing a printed clip into trim usually ends with either a broken tab or stressed plastic that fails later.
For interior mods I prefer a small clearance and a separate retention feature: screw, clip, magnet, or existing trim pressure. The part should locate itself cleanly, then stay there because it was designed to stay there.
Next steps
The next useful pieces are a cleaner cable route for accessories and a small console insert that can be printed in multiple variants. One version can prioritize storage, another can carry a small switch or module.
That is where 3D printing makes sense in a car build. Not replacing everything, and not making novelty parts for the sake of it. Just making the exact small thing the car should have had.