GT86 Console Trim Replacements
Interior trim is a perfect 3D printing trap. It looks simple from the outside, but the hard part is never the visible surface. The hard part is the clip geometry, the tiny clearances, and the way the part has to flex during installation without snapping.
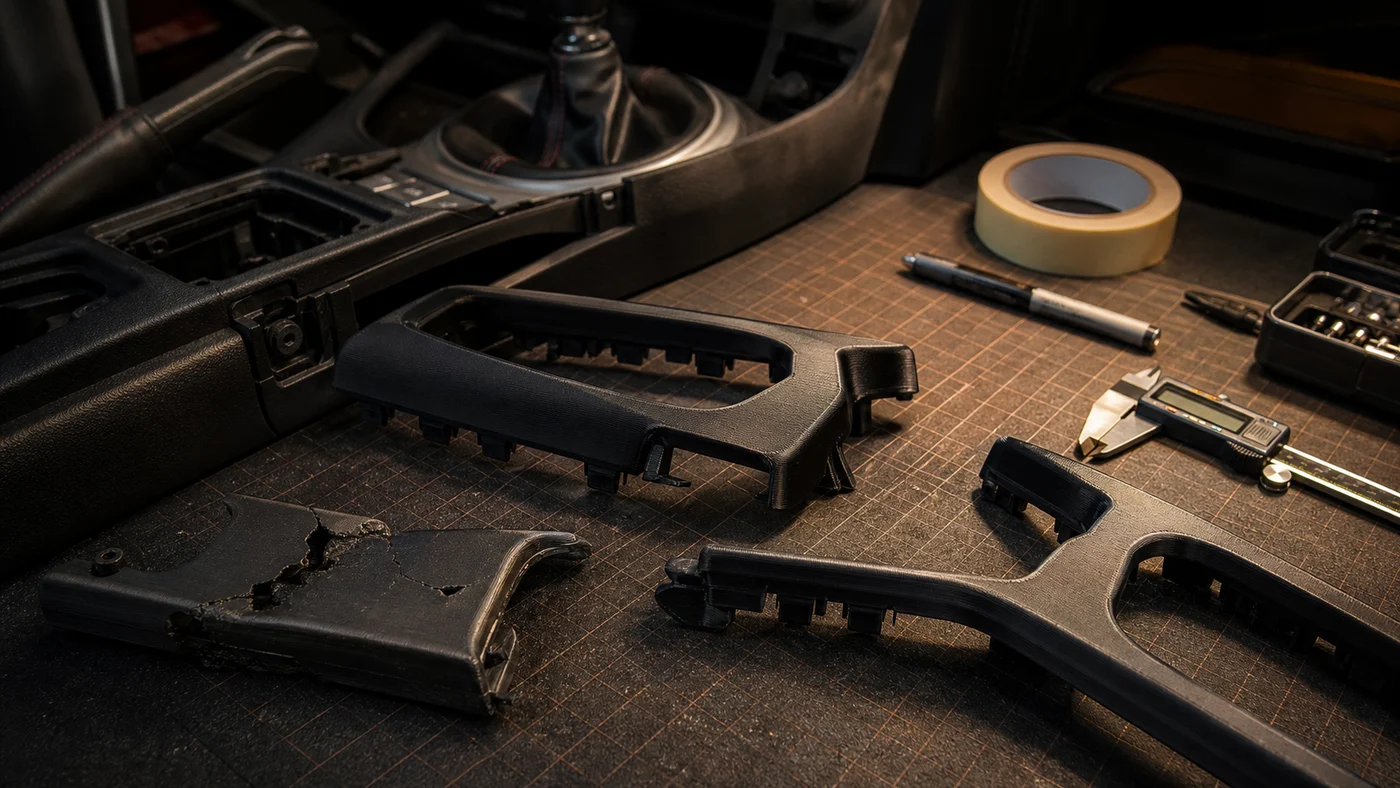
This project started with cracked console pieces and the usual question: can I make a replacement that is good enough to use, not just good enough to photograph?
Measuring the original
The first pass was all measurement. Calipers are enough for the obvious dimensions, but trim parts are full of surfaces that do not have simple reference points. I measured the mounting holes, clip locations, outer profile, and every rib that looked like it might control fitment.
The original cracked part was still useful because it showed where the stress had been going. A crack is not just damage; it is evidence. If the replacement copies the weak feature exactly, it will probably fail in the same way.
Prototype for fit, not finish
The first printed version was ugly on purpose. Fast layer height, low infill, no time spent chasing surface quality. I only cared about whether the part landed in the right place, whether the clips lined up, and whether it interfered with the surrounding console.
That prototype failed in a predictable way: the outer edge looked right, but the underside tabs were slightly too proud. It would start to seat, then bind before the clips engaged. Removing less than a millimetre from the wrong feature fixed more than changing the whole exterior shape.
Material choice
For interior cabin parts, PLA is only useful for checking geometry. A parked car can get hot enough to make PLA a bad idea. PETG is a reasonable practical baseline, but ASA is more interesting if the part is going to live in sunlight or heat for a long time.
The tradeoff is surface finish. PETG can look a little soft around fine details, while ASA rewards better printer setup and enclosure control. For a visible console piece, I would rather spend more time tuning the material than accept a part that fits but looks temporary.
Print orientation
The visible face wants to be printed cleanly, but the clips want strength in the right direction. Those requirements fight each other.
For the current geometry, I prefer orienting the part so the visible surface is acceptable and then adjusting the clip design to avoid relying on weak layer adhesion. If a clip needs to bend, it should bend as a designed spring feature, not as a random stack of layers being asked to survive.
What makes it usable
A usable trim replacement needs more than a close outline. It should install without heroic force, sit flush without buzzing, and come back out without leaving half the tabs behind.
That means the final version needs a small amount of compliance. Rigid accuracy sounds good, but a car interior is an assembly of tolerances. The printed part has to meet the car halfway.
Next pass
The next iteration needs texture experiments. A raw FDM surface can work for hidden brackets, but a visible console part needs to either match the cabin better or intentionally contrast with it.
I am leaning toward a satin black finish with a subtle grain, because glossy trim in an older interior tends to highlight every imperfection. The goal is not to make it look printed. The goal is to make it look like it belongs.